One Time Payment
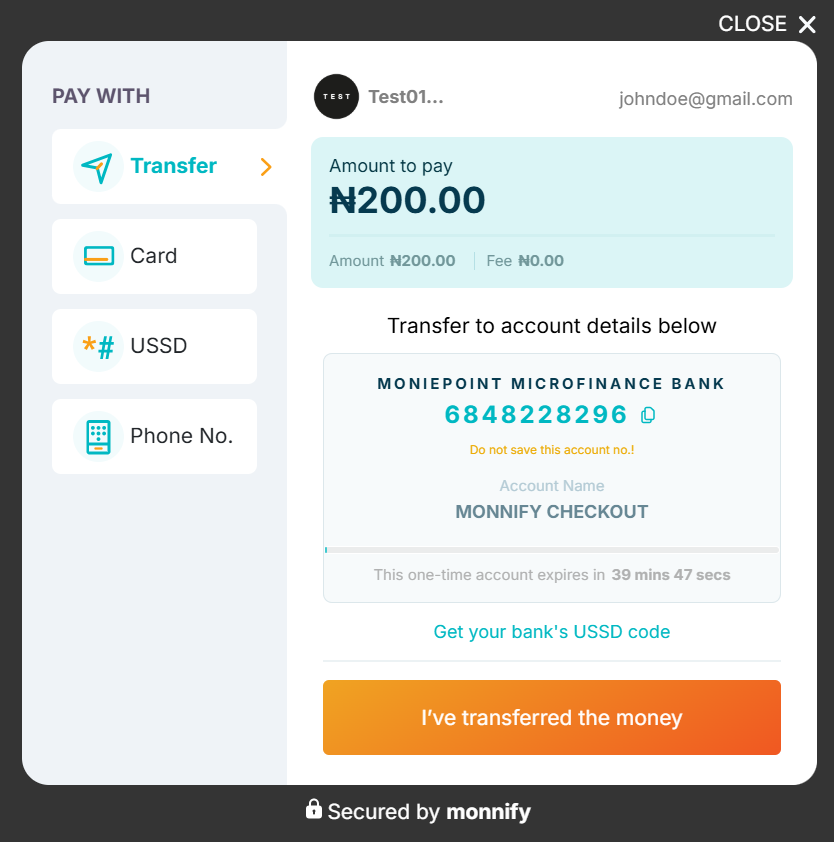
Monnify allows you to receive payments from your customers via bank transfers, debit cards, USSD, and through the use of their phone numbers. Every time a transaction is initiated, the Monnify SDK displays a distinct account number, which your customers can pay into by using any of the available Monnify payment methods.
Monnify Checkout
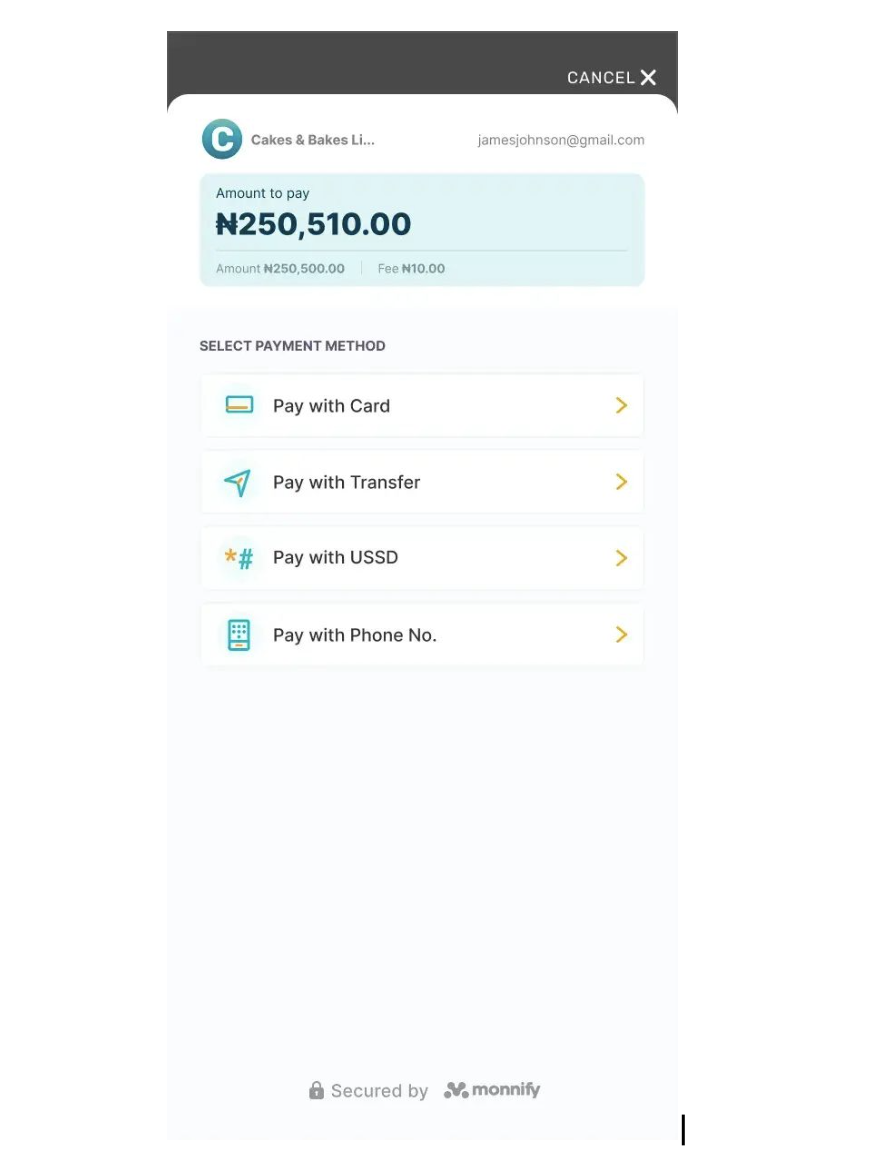
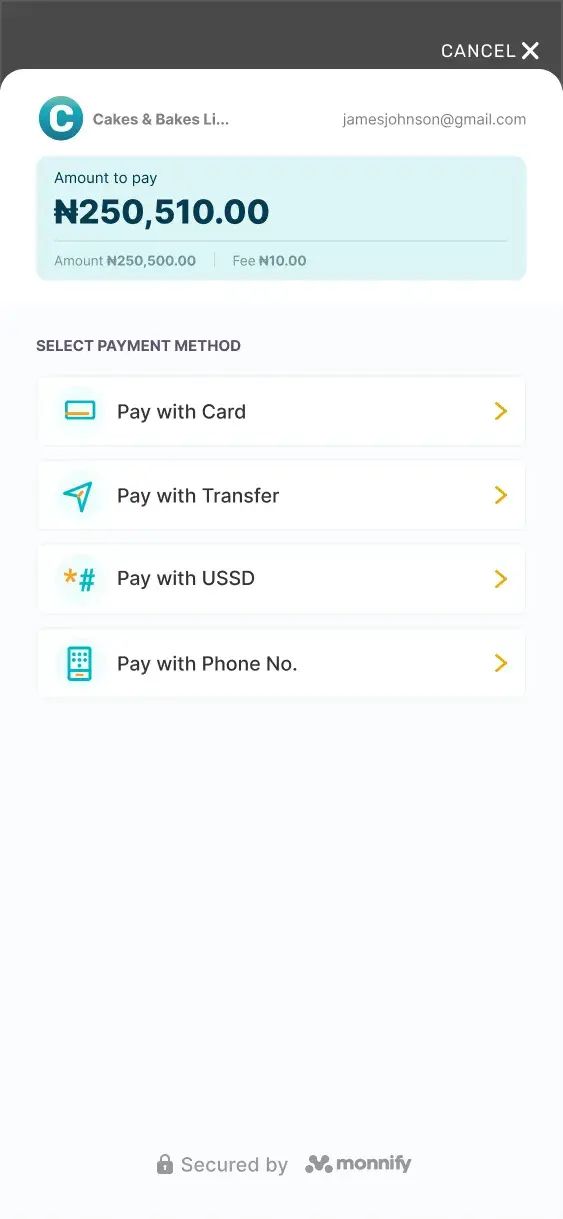
The checkout feature allows you to integrate a checkout functionality into your websites to enable your customers make payments on your platform. The Monnify Checkout Page provides customers with various payment method options such as;
- Pay with Bank Transfer: This payment method allows your customers to make a payment to a dynamically generated account number for the transaction.
- Pay with USSD: This payment method allows your customers to make a payment using USSD.
- Pay with Card: This payment method allows your customers to make payments using their card.
- Pay with Phone Number: This payment method allows your customers to make a payment using a phone number to initialize a session.

Adding Monnify Checkout to your Website
Installing the Monnify Checkout Page is very easy and can be done by adding the checkout Javascript snippet to your website by copying the snippet code as shown below:
1<html>
2<head>
3  <script
4    type="text/javascript"
5    src="https://sdk.monnify.com/plugin/monnify.js"
6  ></script>
7  <script>
8    function payWithMonnify() {
9      MonnifySDK.initialize({
10        amount: 100,
11        currency: "NGN",
12        reference: new String(new Date().getTime()),
13        customerFullName: "Damilare Ogunnaike",
14        customerEmail: "[email protected]",
15        apiKey: "MK_PROD_FLX4P92EDF",
16        contractCode: "626609763141",
17        paymentDescription: "Lahray World",
18        metadata: {
19          name: "Damilare",
20          age: 45,
21        },
22        incomeSplitConfig: [
23          {
24            subAccountCode: "MFY_SUB_342113621921",
25            feePercentage: 50,
26            splitAmount: 1900,
27            feeBearer: true,
28          },
29          {
30            subAccountCode: "MFY_SUB_342113621922",
31            feePercentage: 50,
32            splitAmount: 2100,
33            feeBearer: true,
34          },
35        ],
36        onLoadStart: () => {
37          console.log("loading has started");
38        },
39        onLoadComplete: () => {
40          console.log("SDK is UP");
41        },
42        onComplete: function (response) {
43          //Implement what happens when the transaction is completed.
44          console.log(response);
45        },
46        onClose: function (data) {
47          //Implement what should happen when the modal is closed here
48          console.log(data);
49        },
50      });
51    }
52  </script>
53</head>
54<body>
55  <div>
56    <button type="button" onclick="payWithMonnify()">Pay With Monnify</button>
57  </div>
58</body>
59</html>
Response Object
When the transaction is completed, Monnify will return a response object to your onComplete function.
1{
2"amount": 100,
3"amountPaid": 100,
4"completed": true,
5"completedOn": "2022-03-31T10:53:50.000+0000",
6"createdOn": "2022-03-31T10:52:09.000+0000",
7"currencyCode": "NGN",
8"customerEmail": "[email protected]",
9"customerName": "Damilare Ogunnaike",
10"fee": 10.75,
11"metaData": {
12  "deviceType": "mobile",
13  "ipAddress": "127.0.0.1"
14},
15"payableAmount": 100,
16"paymentMethod": "CARD",
17"paymentReference": "MNFY|PAYREF|GENERATED|1648723909057299503",
18"paymentStatus": "PAID",
19"transactionReference": "MNFY|67|20220331115209|000063"
20}
It is recommended that you always make a get transaction status call whenever a transaction is completed (or canceled) before saving the transaction on your database. Monnify will also notify you via your webhook URL of the status of any transaction.
User Cancelled Response
If a user cancels, Monnify returns the following response to your onClose function
1{
2"authorizedAmount": 30,
3"paymentStatus": "USER_CANCELLED",
4"redirectUrl": null,
5"responseCode": "USER_CANCELLED",
6"responseMessage": "User cancelled Transaction"
7}
Note: By default, all payment methods are displayed. However, if you want to control the displayed payment methods, you can do so by setting paymentMethods field in the initialization request as seen below:
1 paymentMethods: [
2  "CARD",
3  "ACCOUNT_TRANSFER",
4  "USSD",
5  "PHONE_NUMBER"
6],
7onLoadStart: () => {
8  console.log("loading has started");
9}
If the paymentMethods property isn’t included, by default, all the available payment methods will be displayed to your customers. If the paymentMethods property is specified, the listed payment methods will be displayed to your customers, see the sample below:
1paymentMethods: [
2  "USSD",
3  "PHONE_NUMBER"
4],
5onComplete: function(response) {
6  console.log(response);
7}
Monnify Android SDK
The Monnify Android SDK allows you to accept payments from customers in your Android application via:
- Card Payment
- Bank Transfer
- USSD Payment
- Payment by Phone Number

Steps to Implementation
1. Add the dependency for the Monnify SDKTo your root build.gradle file add:
1allprojects {
2  repositories {
3      google()
4mavenCentral()
5  }
6}
To your app-level build.gradle file add:
2. Create an instance of the Monnify SDK
1dependencies {
2  // ...
3  implementation "com.monnify.android-sdk:monnify-android-sdk:1.1.7"
4}
Monnify Flutter SDK
The Monnify Flutter SDK allows you to accept payments from customers in your Mobile application via:
- Card Payment
- Bank Transfer
- USSD Payment
- Payment by Phone Number

Steps to Implementation
1. Add the dependency for the Monnify SDKAdd monnify_payment_sdk as a dependency in your pubspec.yaml file.
2. Initialize the plugin
Initialize the plugin. This should be done once, preferably in the "initState" of your widget.
1import 'package:monnify_payment_sdk/monnify_payment_sdk.dart';
2
3class _MyAppState extends State<MyApp> {
4
5
6void initState() {
7 super.initState();
8 MonnifyPaymentSdk.initialize(
9 'YOUR_API_KEY',
10 'CONTRACTCODE',
11 ApplicationMode.TEST
12 )
13}
14}3. Initialize payment
Create an object of the Transaction class and pass it to the initializePayment function.
1Future<void> initPayment() async {
2  TransactionResponse transactionResponse =
3        await MonnifyPaymentSdk.initializePayment(Transaction(
4            2000,
5            "NGN",
6            "Customer Name",
7            "[email protected]",
8            "PAYMENT_REF",
9            "Description of payment",
10            metaData: {
11              "ip": "196.168.45.22",
12              "device": "mobile_flutter"
13              // any other info
14            },
15            paymentMethods: [PaymentMethod.CARD, PaymentMethod.ACCOUNT_TRANSFER],
16            incomeSplitConfig: [
17              SubAccountDetails("MFY_SUB_319452883968", 10.5, 500, true),
18              SubAccountDetails("MFY_SUB_259811283666", 10.5, 1000, false)]
19        )
20  );
21}
Monnify iOS SDK
First off, the Monnify iOS SDK allows you to accept payments from customers in your iOS application via:

- Card Payment
- Bank Transfer
- USSD Payment
- Payment by Phone Number
How to Implementation
- Adding the iOS SDK to your project via CocoaPodsMonnify iOS SDK is available through CocoaPods. To install it, simply add the following line to your Podfile:
-
Access an instance of the Monnify SDK Monnify iOS SDK is available through CocoaPods. To install it, simply add the following line to your Podfile:
-
Set your merchant API key and contract code. This should be done in your
AppDelegate.swiftfile. This should only be done once in the entire application. This can be a TEST or LIVE. The TEST mode works on a sandbox environment and payment can be simulated here.Remember to switch to ApplicationMode.live when generating live builds for your application on production.
- Specify the transaction parameters as shown below:
-
Launch the payment gateway, perhaps when the user clicks on a 'Pay' button.
1pod 'MonnifyiOSSDK'1let monnify = Monnify.shared1let apiKey = "MK_PROD_XXXXXXXX"
2let contractCode = "1234567890"
3let mode = ApplicationMode.test
4
5monnify.setApplicationMode(applicationMode: mode)
6monnify.setApiKey(apiKey: apiKey)
7monnify.setContractCode(contractCode: contractCode)1let amount = Decimal(100)
2let paymentRef = "ASDF123454321"
3
4let parameter = TransactionParameters(amount: amount,
5currencyCode: "NGN",
6paymentReference: paymentRef,
7customerEmail: "[email protected]",
8customerName: "John Doe" ,
9customerMobileNumber: "08000000000",
10paymentDescription: "Payment Description.",
11incomeSplitConfig: [],
12metaData: ["deviceType":"ios", "userId":"user314285714"],
13paymentMethods: ["PaymentMethod.Card", "PaymentMethod.accountTransfer"],
14tokeniseCard: false)1let amount = Decimal(100)
2let paymentRef = "ASDF123454321"
3
4let parameter = TransactionParameters(amount: amount,
5 currencyCode: "NGN",
6 paymentReference: paymentRef,
7 customerEmail: "[email protected]",
8 customerName: "John Doe" ,
9 customerMobileNumber: "08000000000",
10 paymentDescription: "Payment Description.",
11 incomeSplitConfig: [],
12 metaData: ["deviceType":"ios", "userId":"user314285714"],
13 paymentMethods: [PaymentMethod.card, PaymentMethod.accountTransfer],
14 tokeniseCard: false)Monnify Checkout URL
If (for some reason) you don't want to use the an SDK, you can call the Checkout APIs directly.
You can do this by calling the Initialize Transaction API
It is important to confirm that the values returned by this endpoint (and the SDK) corresponds to the values you provided in the request payload, as bad actors can intercept the request and make alterations to values such as the transaction amount.
It is important to confirm that the values returned by this endpoint (and the SDK) correspond to the values you provided in the request payload, as bad actors can intercept the request and make alterations to values such as the transaction amount.
Customize Your Payment Experience
Monnify allows merchants to create a seamless payment interface tailored to their users, enabling them to design their own checkout page for full control over the payment experience. The APIs below can help you achieve this.
Pay with Bank Transfer:
This endpoint
allows you to retrieve the dynamic virtual account details for a transaction using the
transactionReferenceof aninitialized transaction.
You will receive the virtual account your customer can make payments to. If a
bankCodeis specified, the response will also include a unique USSD code for that bank, enabling your customer to make a USSD payment for the transaction.
You can make this request multiple times. Each time you make the request, we
will return a response which specifies how many more seconds the account will
be valid for. The validity period for an account is 2400 seconds (40 minutes).
You can also specify a different bank code each time, and you will get a
different USSD string in ussdPayment.
Please make sure to inform your customers of the expiry time of the virtual accounts, to prevent rejected or erroneous transactions.
Charge Card: This endpoint allows you to directly charge your customer using their card information and the
transactionReferenceof an initialized transaction. Test card details are provided in the API reference.
To be granted access to this API, you will be required to be PCI-DSS certified. For further inquiries, please reach out to
[email protected] .
Sample Error Messages
| Error Message | Meaning | Action |
|---|---|---|
Unknown currency code supplied | This means that the currencyCode supplied in the payload is not part of Monnify supported currencies | Retry with a currency code supported by Monnify |
Could not find specified contract | This means that the contractCode in the request payload is either invalid or doesn’t belong to the merchant. | Retry with a valid contractCode that belongs to the merchant and matches the integration environment |
| Duplicate payment reference | This implies that the payment reference used in the request payload has been previously used in the same environment by the merchant | Ensure that the payment reference is unique for each transaction initialization |
| Invalid Card Number | This implies that the card PAN supplied is wrong | Check that the card PAN supplied is correct and try again |
Merchant has not been configured for bin | This implies that the first six digits of the customer's card PAN is not among our supported card bins | Customer should confirm that the card is a Nigerian card, otherwise contact Monnify support |
Could not find transaction with the specified transaction reference | This implies that the supplied transaction reference does not exist for merchant | Reconfirm the transaction reference and retry |
Rate this page
How would you rate your experience?
